
Greetings, fellow jerky enthusiasts! It's Doug from Jerky.com here, all set to embark on an exciting jerky adventure with you in our test kitchen. Today, we're about to fuse the irresistible world of tacos with that of beef jerky, creating our very own Taco Beef Jerky. But hold onto your taste buds, because we're not stopping at just one method – we've got two ways to whip this up: the easy way, and an even easier way! So, buckle up and let’s get this journey started.
Preparation: The Meat
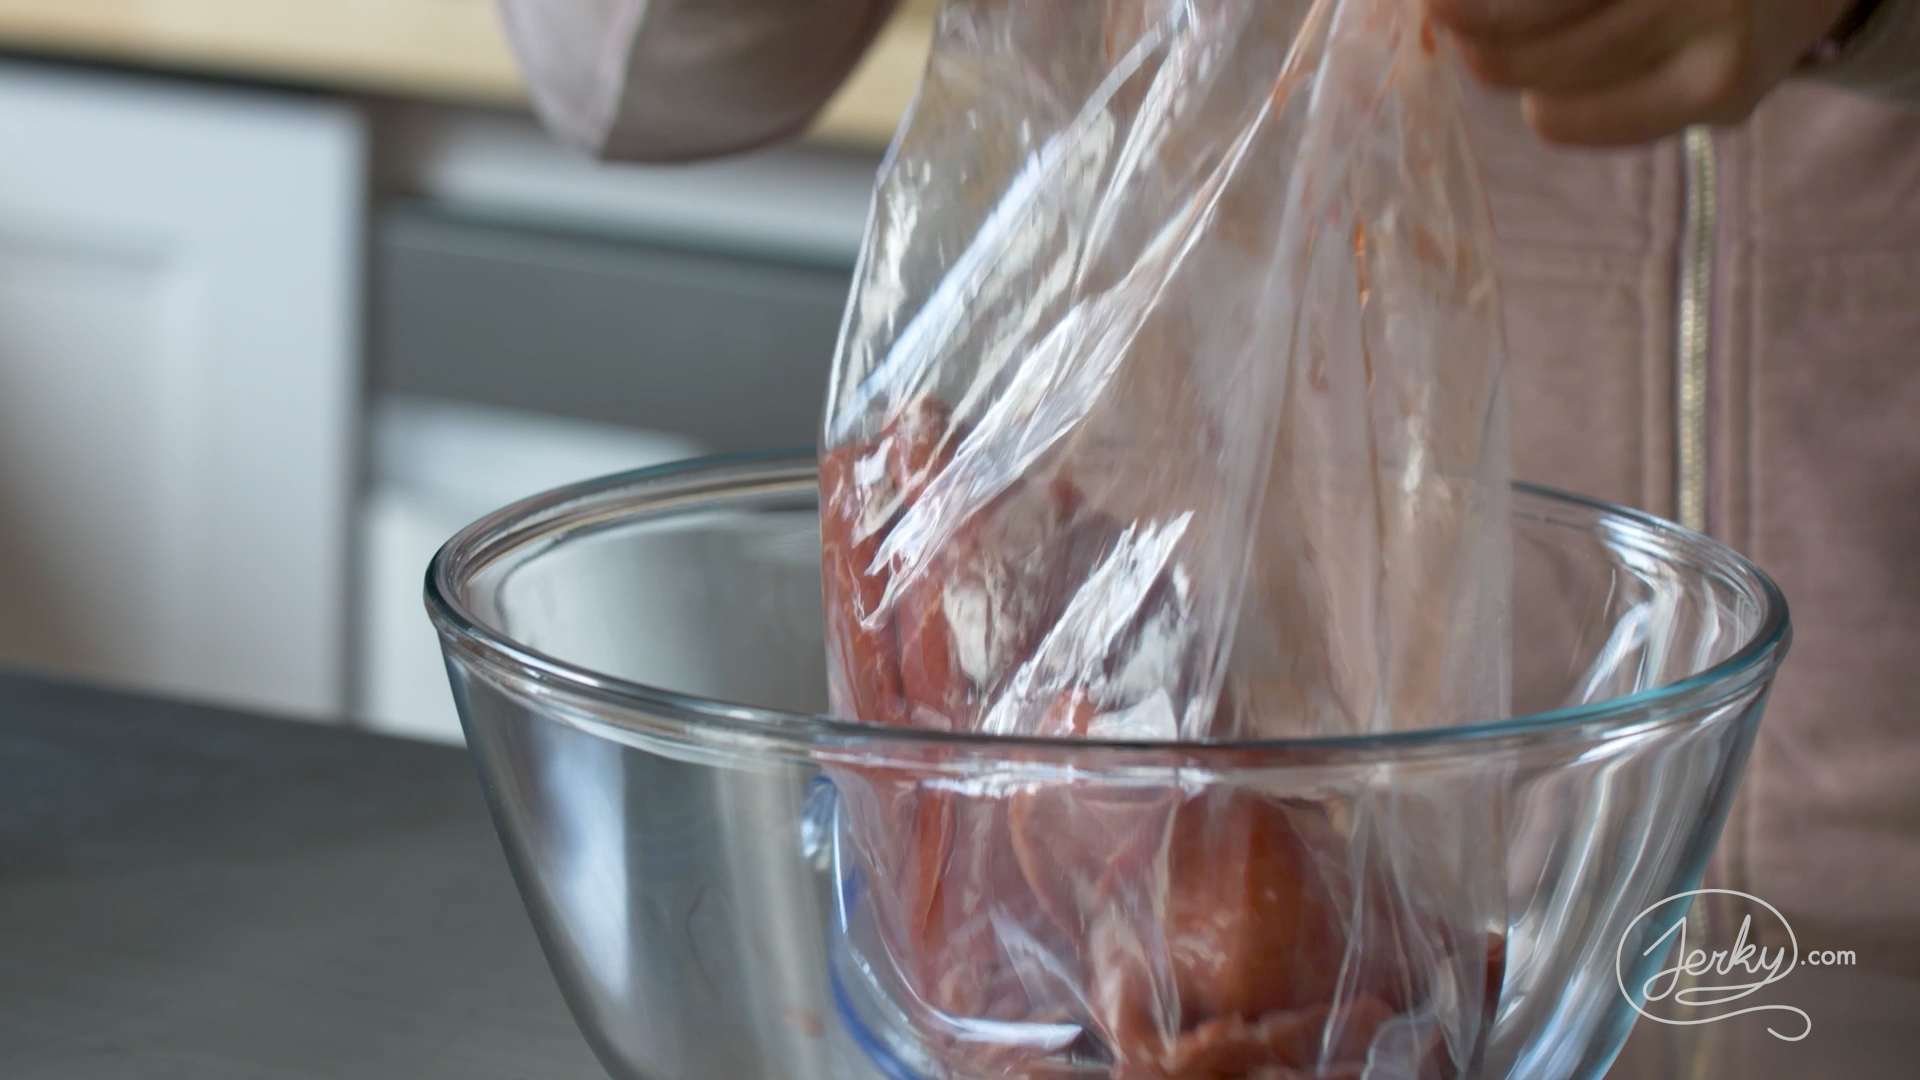
First off, we need to spotlight the main character in our jerky saga: the meat. I usually have two-pound pre-sliced bags of eye round handy in my freezer, just waiting for the jerky mood to strike. To start off our batch, we’re dealing with 1 pound, 14 ounces of meat.
Ingredients and Mixing for the Easy Way
Now let's talk ingredients for the easy way. We're going all out! Our taco beef jerky recipe involves a vibrant mix of seasonings: paprika, granulated onion, beef bouillon, granulated garlic, cumin, chili powder, celery powder, canned basil, oregano, cilantro, and a cup of water to tie it all together.
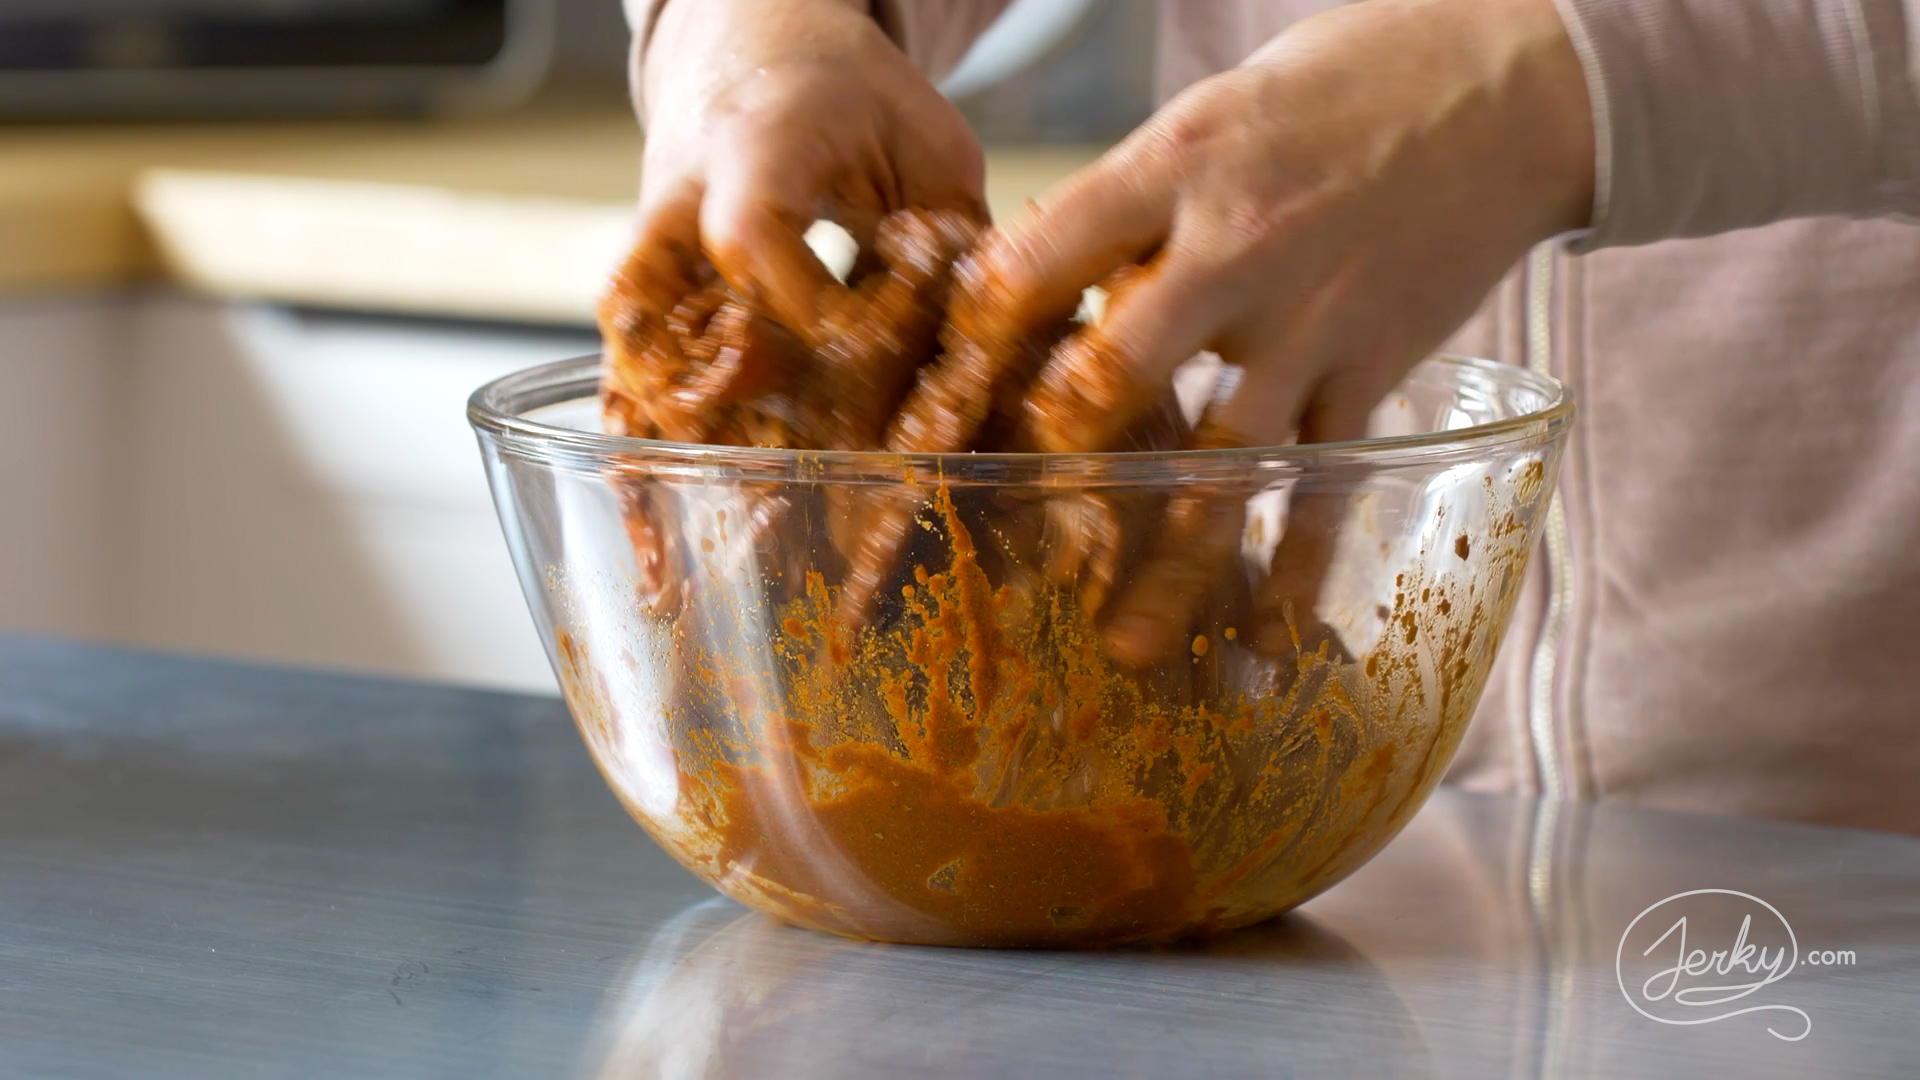
It's time to roll up your sleeves for the mixing process. We aim to separate all the meat pieces and make sure they're fully soaked with our blend of seasonings. The goal is to dissolve all the dry ingredients into the water and to evenly coat all meat pieces. This is our trick to ensure deep, consistent flavor throughout the jerky. Once the mix looks well-combined, it's time to cover it, seal it tight, and let it soak in all those flavours in the fridge.
The Even Easier Way
For those of you wanting a quicker path to deliciousness, the even easier method is your friend: simply add your meat, then toss in three and a half ounces of our Jerky.com Taco Seasoning, add your water, and give it a good mix. After two full days of marinating, you'll have a batch of Taco Beef Jerky ready to move onto the dehydration stage.
Dehydration
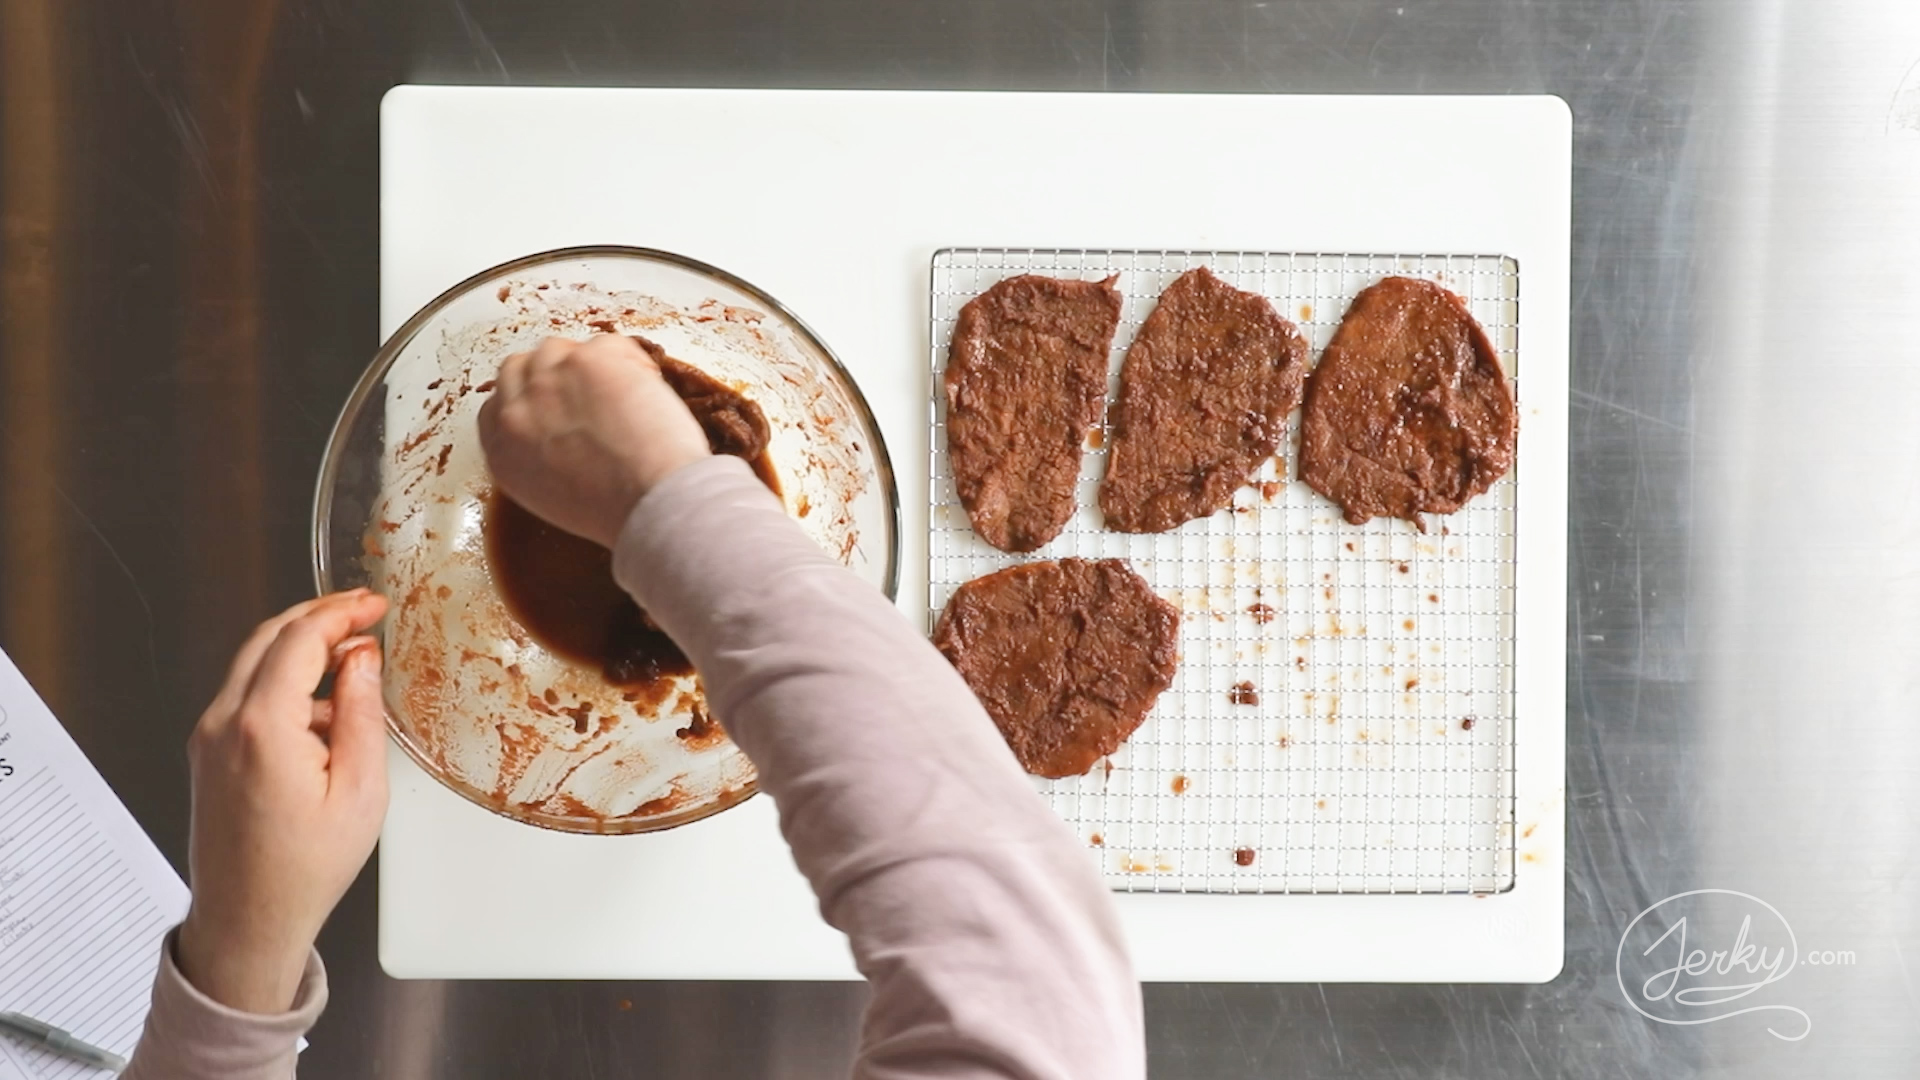
Next up is racking the meat. As I always remind folks, jerky racking isn't rocket science. Make sure to lay your meat flat, ensure there's no overlap, and leave enough space for full airflow around each piece. Then, we adjust our time and temperature, keeping an eye on the jerky from about two and a half hours in. Considering the hearty seasoning, we can expect dehydration to take between 3 to 4 hours.
Taste Test and Customization
Finally, the grand finale – the taste test. The result? An incredibly complex and bold flavor! With hints of the rich paprika and cumin, this jerky has an irresistibly savory profile. And with a yield of over 50%, this Taco Beef Jerky is worth trying if savory flavors are your thing.
If you're interested in tweaking the recipe to your own taste, here are three ways to customize this jerky:
- For a more robust flavor, substitute the water with tomato juice.
- Introduce a kick with a dash of Tabasco or your favorite hot sauce.
- To go down the gringo style route, add some cheddar cheese powder into the mix.
Conclusion
And with that, we've come to the end of our Taco Beef Jerky journey! Whether you opt for the easy way or the even easier way, I’d love to hear how your jerky turns out. If you have more ideas on how to enhance this recipe, feel free to leave a comment below.


1 comment
I like the ingredients in this mix. I’m going to try it with Elk tenderloin and then with a local kill venison. As I do not have a dehydrator yet I’ll be using a gas oven. I’ll let you know how it turns out. Thank you and Happy New Year. ITH